By Carly Moir, Creative Director WCD
Long before getting engaged I came across this beautiful instagram account by Blush Photography. I immediately fell in love with her warm, modern style and secretly followed all of the wedding posts when my boyfriend (now husband) wasn’t looking.
After he popped the question, before solidifying a venue or guest list, I thought of one thing – I have to have Blush do our photos! Marketing background aside, the point of the story is simple: people love good photos. And when they are ready to make a purchase, they will first look to brands they already feel connected to and identify with. In our case, we were able to hire our dream photographer and it all started with a follow on instagram.
I thought of how this related to our own imagery at White Canvas and how as a service-based business, we could come up with fresh visuals that speak best to our audience. Revamping our logo and website was the perfect opportunity to finally plan a brand photoshoot. With the help of our friends at JB Photography, here’s a look at how it all came together and 3 tips for styling your own brand photoshoot.
1. Set your goals
Determine the end-use for your photos
First it’s important to define what you want out of the photoshoot. What are the images being used for? Website, social media, print? What ever your end-use may be, consider each of these mediums may have different orientations and sizing. Instagram shots for example are best shot with a more square crop, whereas images for your website’s homepage sliders may need to be more horizontal in nature.
Create a mood board
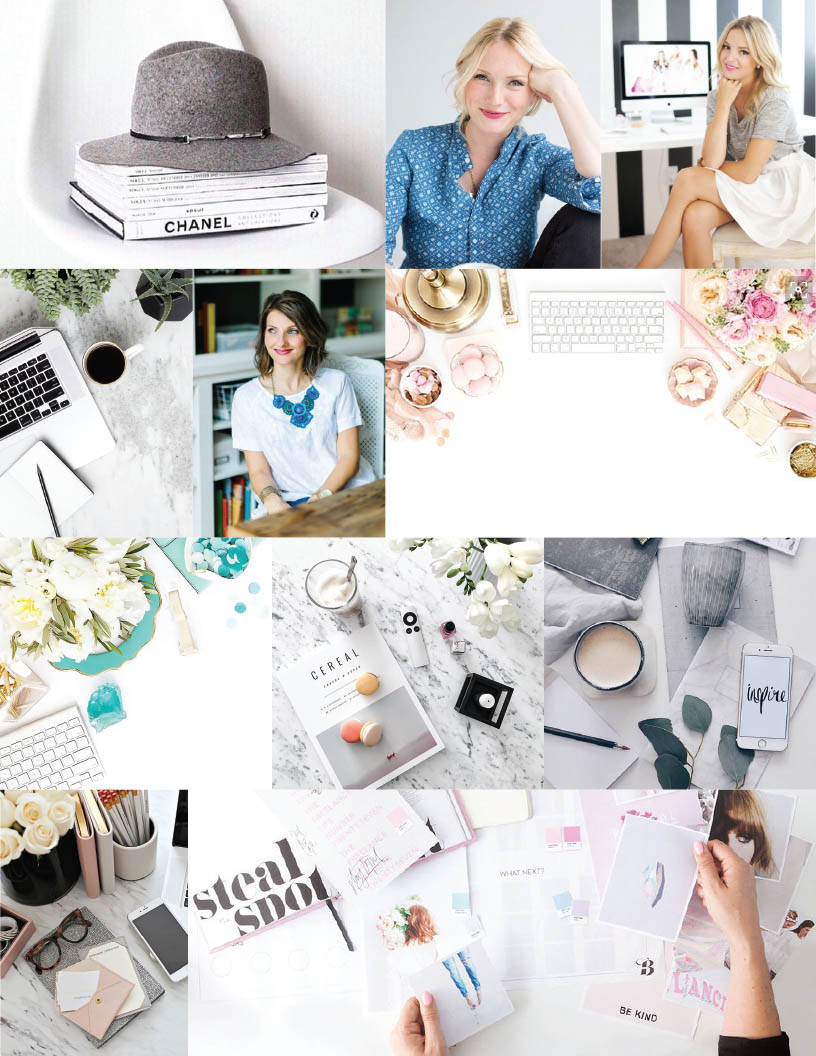
Mood boards are a great way to visually present the style and look you’re after. It also helps identify feeling – how do you want people to feel when they look at these images? Look for samples of different types of shots you like and communicate with your photographer ahead of time so they can prepare and offer suggestions and feedback. Include your brand colour palette or create one specific to the shoot with 4-6 main swatches to lay a foundation.

2. Choose the right location
Venue
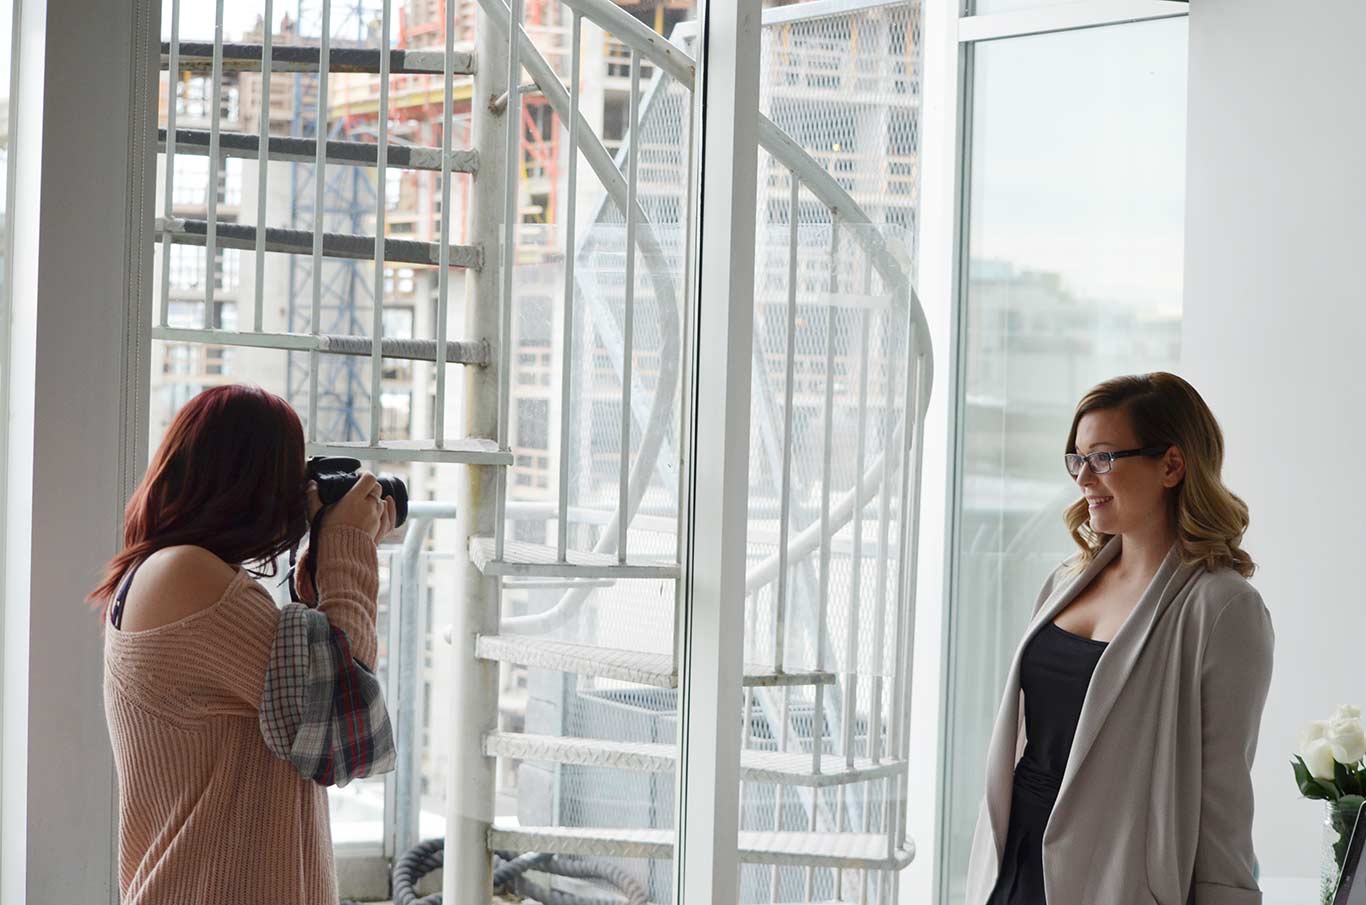
Finding a venue with good lighting is key, but even more important is choosing one that fits in with your brand. For our brand shoot, we knew we wanted a bright, contemporary setting with white detailing. We found the perfect studio to rent for the afternoon on This Open Space, but outdoor public spaces can work just as well if it aligns well for your brand.

Backdrops
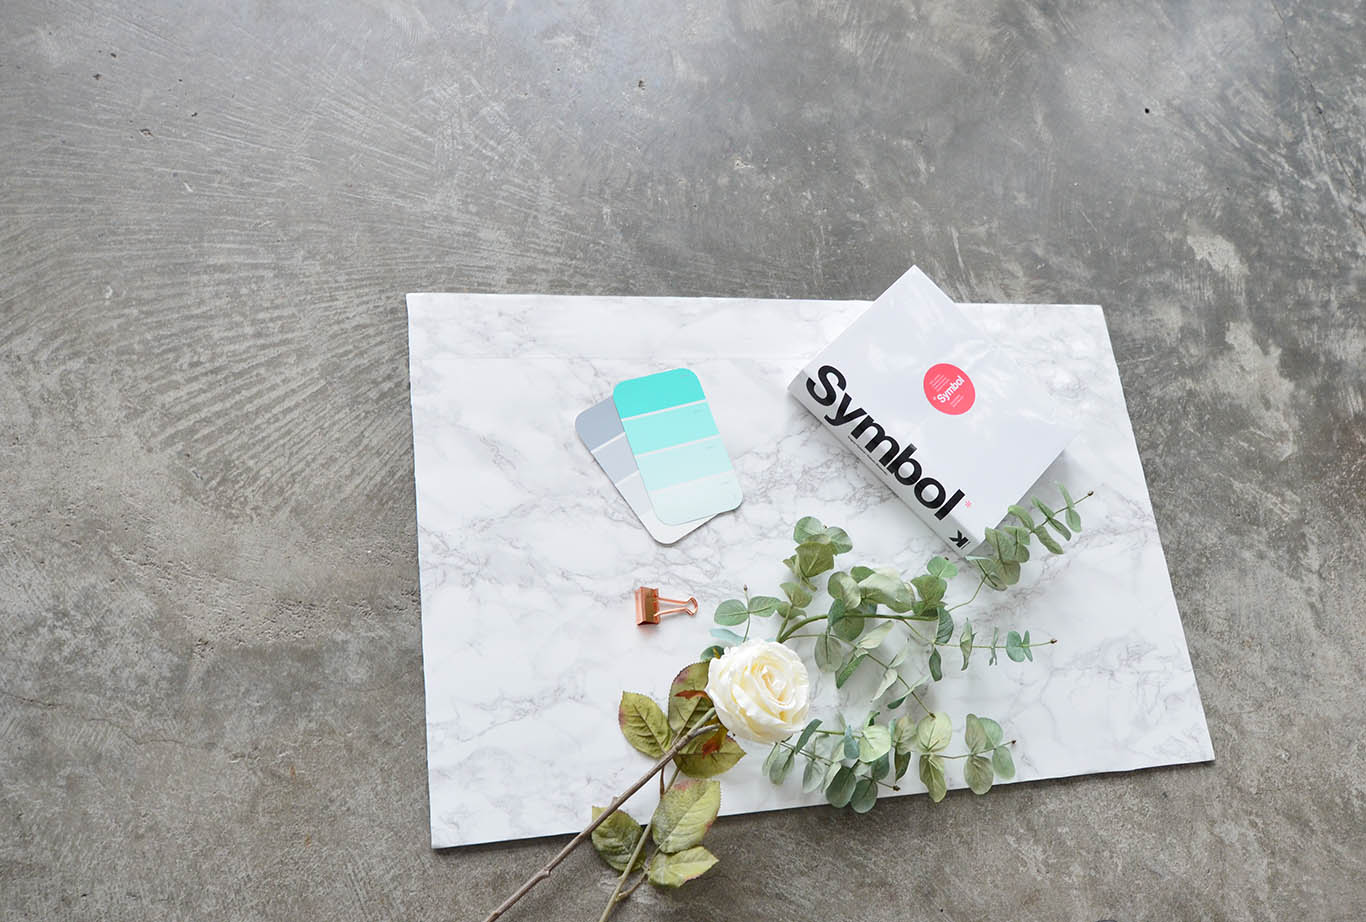
When choosing your location it’s also important to plan your backdrops, such as cityscape, a marble counter, or waterfront for example. If you’re styling products or flat lay images, creating a few DIY backdrops is also an easy way to be creative. Keeping with the white theme, we put together marble and white brick textures using foam board and vinyl contact paper from Rona.
3. Source your props
Make a list of items
Organizing props and accents for your photoshoot is always the hardest part, but also the most rewarding to see it all come together! Start with the tools of your trade: products, portfolio pieces, and equipment (laptop, mobile devices, camera, tools etc.). Next, consider what items or accessories may be found on your desk such as notebooks, stationery, candles, or your favourite office painting. Look for accents, textures, and decor pieces within your brand palette around your home as well. Fresh flowers to top it all off also go a long way. If you’re doing head shots for yourself or the team, think about your wardrobe choices and the best way to tie everything in with your props and location. It’s all in the details.

Create a shot list
Save yourself the stress on photoshoot day and prepare a shot list ahead of time. It doesn’t have to be perfect, but it at least gives you a guideline to refer back to throughout the shoot. Outline the orientation of shots (aerial, headshots, blurred backgrounds, over the shoulder and so on) and the accessories or props for each. Don’t forget to share your shot list with your photographer at least a week in advance of your shoot so everyone is prepared and on the same page.
Still need specifics? Below is a peek at one of the shot lists we created for the White Canvas shoot.
1) Desk Shot (various)
- laptop, lamp, iPad, phone, candle, flowers, notebook, keyboard, business card, rug, phone
- accessories: parallel 49 mug, sticky notes, EOS lip balm
- variations: with Carly working, over shoulder, keyboard only, projects on screen
2) Design Materials (various shots + combos)
- pencils, sketchbook, glasses, design books, Pantone book
- accessories: paint, paint brushes, calligraphy tools
3) Portfolio Pieces
- client business cards, print material, sketches, websites
- flat lay angles and desk shots
4) Team
- casual shots (see attached inspiration board) – white background, office background
- ottoman/chair/standing
- office dog shots with Bella
5) Brand (a few shots with room for text above or below)
- coffee, tiffany’s box, saje candle, Pantone book, succulents, fresh white roses
What are your favourite photoshoot tips and tricks? We’d love to hear!