How to make branded social media graphics in Canva: putting your brand kit to work!
Real talk for a minute – working with a design team to put together your business’s logo and visual identity is quite the process. You’ve invested your time, your dollars and your energy into crossing the finish line to your shiny new brand kit glory. Now it’s time to put those files to work!
How to brand social media graphics has been a popular follow-up question from our clients, so-much-so that we decided to write a blog about it with a step-by-step guide of how to take your brand kit files and apply some basic design principles to show off your new look. We’ve used our friends from Ladner Village Physiotherapy as a case study, to demonstrate just how easy it is to set up a template for Instagram (oh, and it’s free too!).
Step 1: Sign up for Canva
Canva is a free graphics building tool that offers tons of flexibility and inspiration for social media posts, blog graphics and more. It’s free to sign up, and you’ll be impressed to find the basic version has plenty of tools to customize your graphics. In this tutorial, we’ve selected the social media template to get things rolling.
*Tip: Canva can be used on the desktop or through the mobile app. We recommend using your desktop for the following tutorial, future posts using the mobile app will be easier once the template is set up.
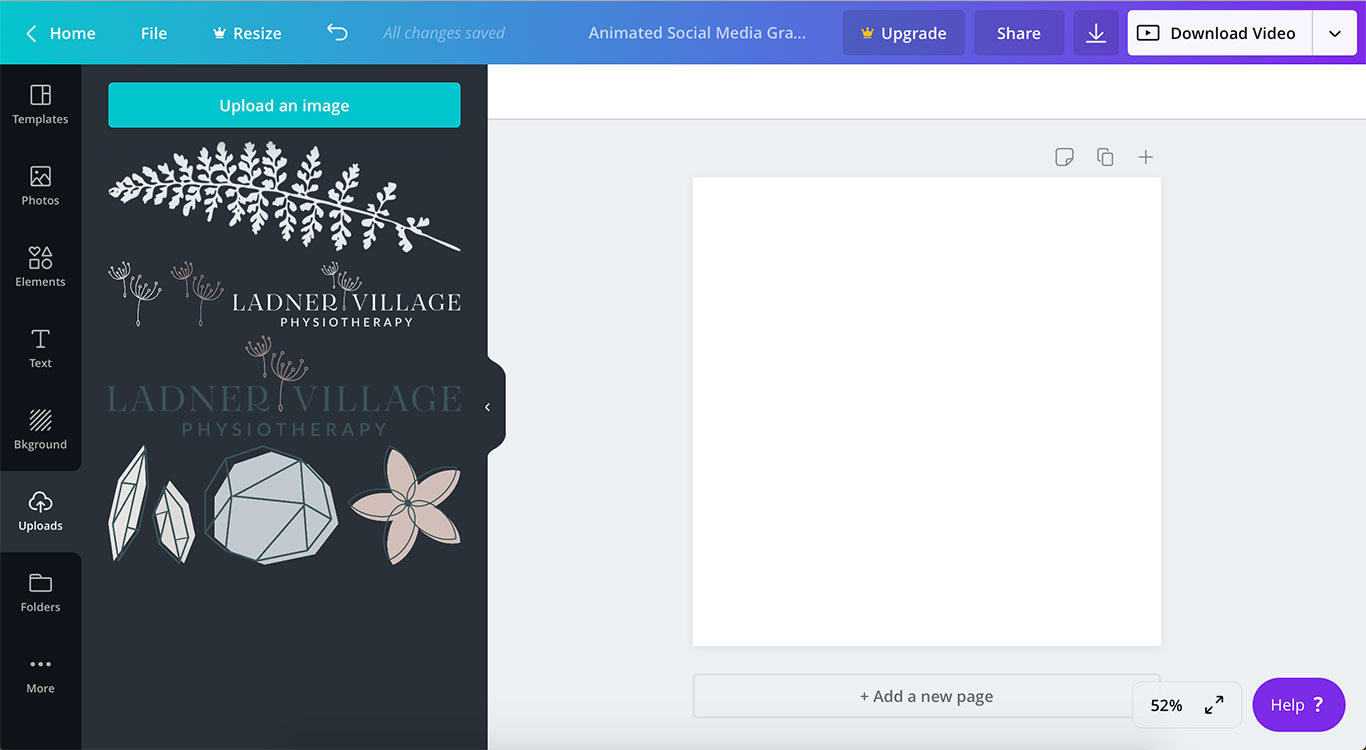
Step 2: Load your brand assets into the uploads
Locate your brand kit folder on your computer or dropbox and upload your logo and identity elements into the uploads folder. Be sure to grab the “PNG” labelled files (ex. element.png) – these files have transparent backgrounds and are best for layering. We added all of Ladner Village’s identity elements and a few variations of their logo to have on hand.
*Tip: if you’re seeing a white box around your uploaded element, this does not have a transparent background. Make sure you’ve uploaded the correct PNG file or contact your design team for assistance.
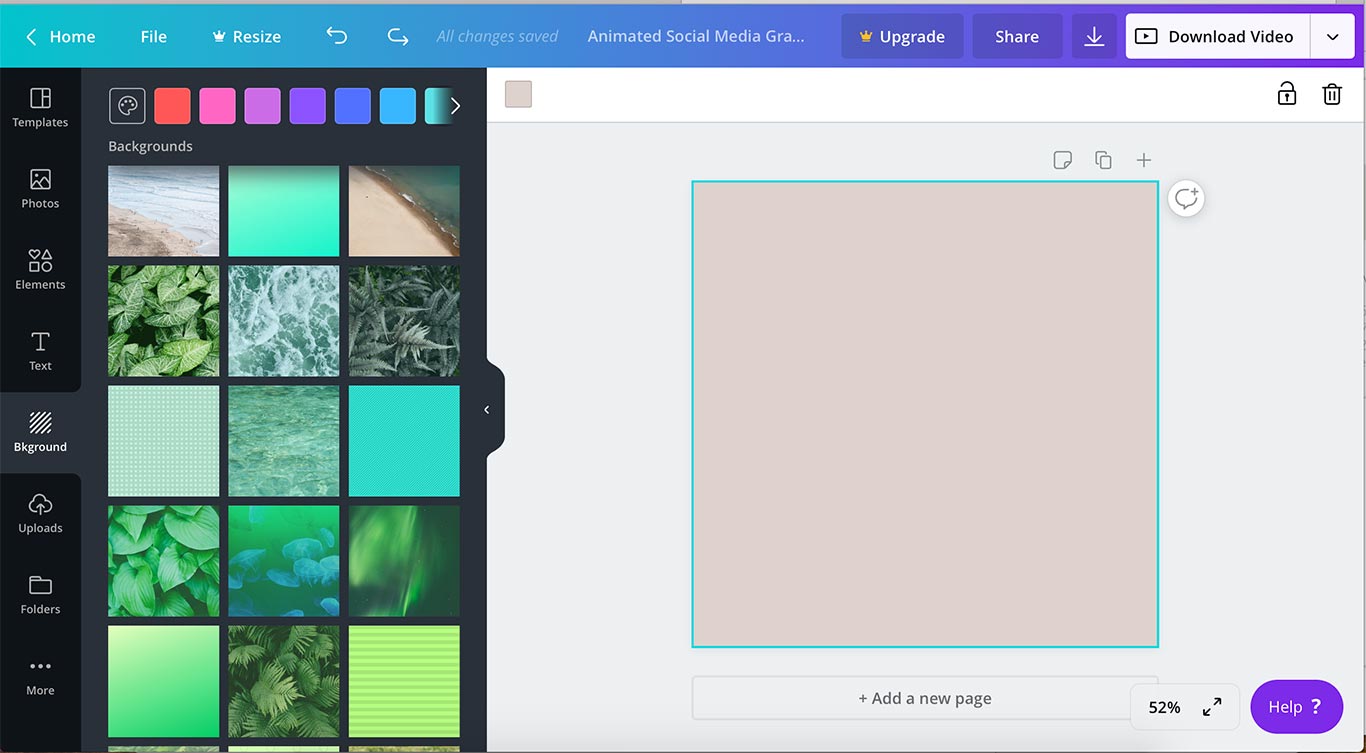
Step 3: Choose a background
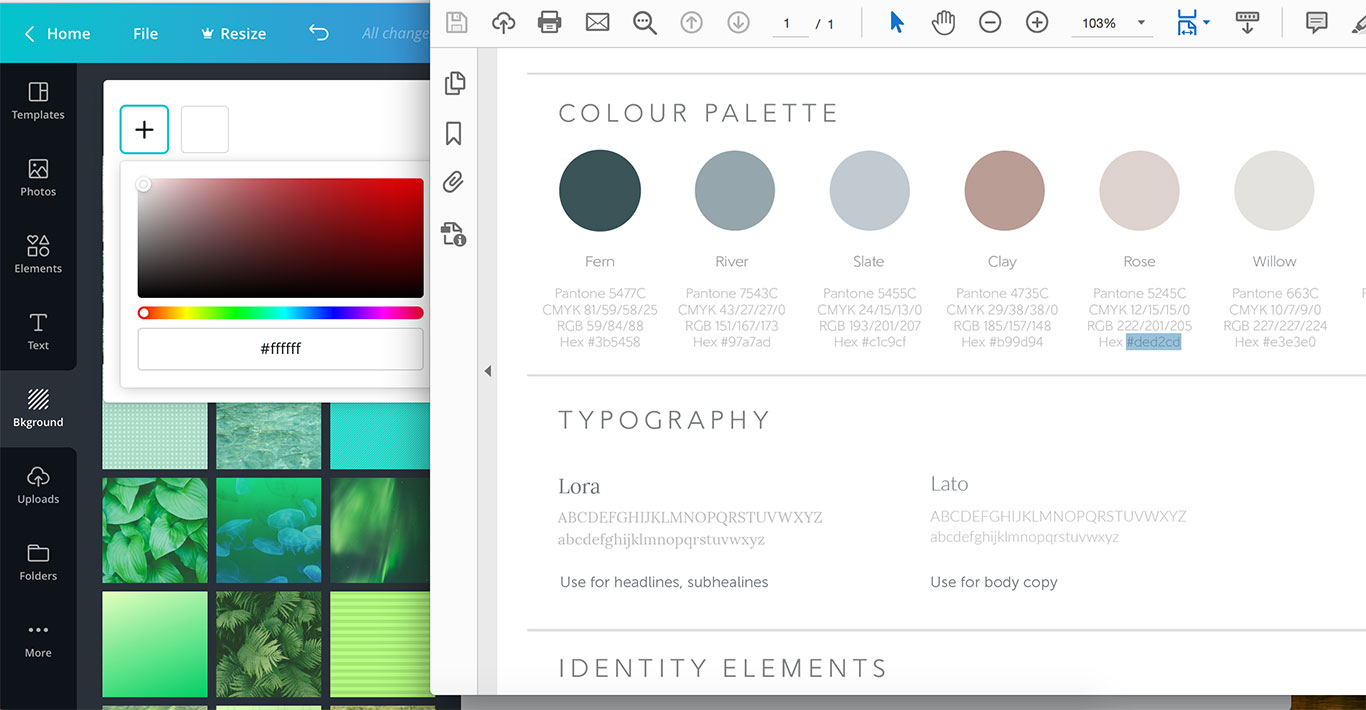
This can be an image (from the photos gallery or one you upload manually), a background template from “backgrounds” or as we’ve done in this example, a branded solid colour. We opened up Ladner Village’s brand stylesheet so we could easily copy and paste their colour codes. The hex# code is the one you’ll want to grab and paste into Canva.
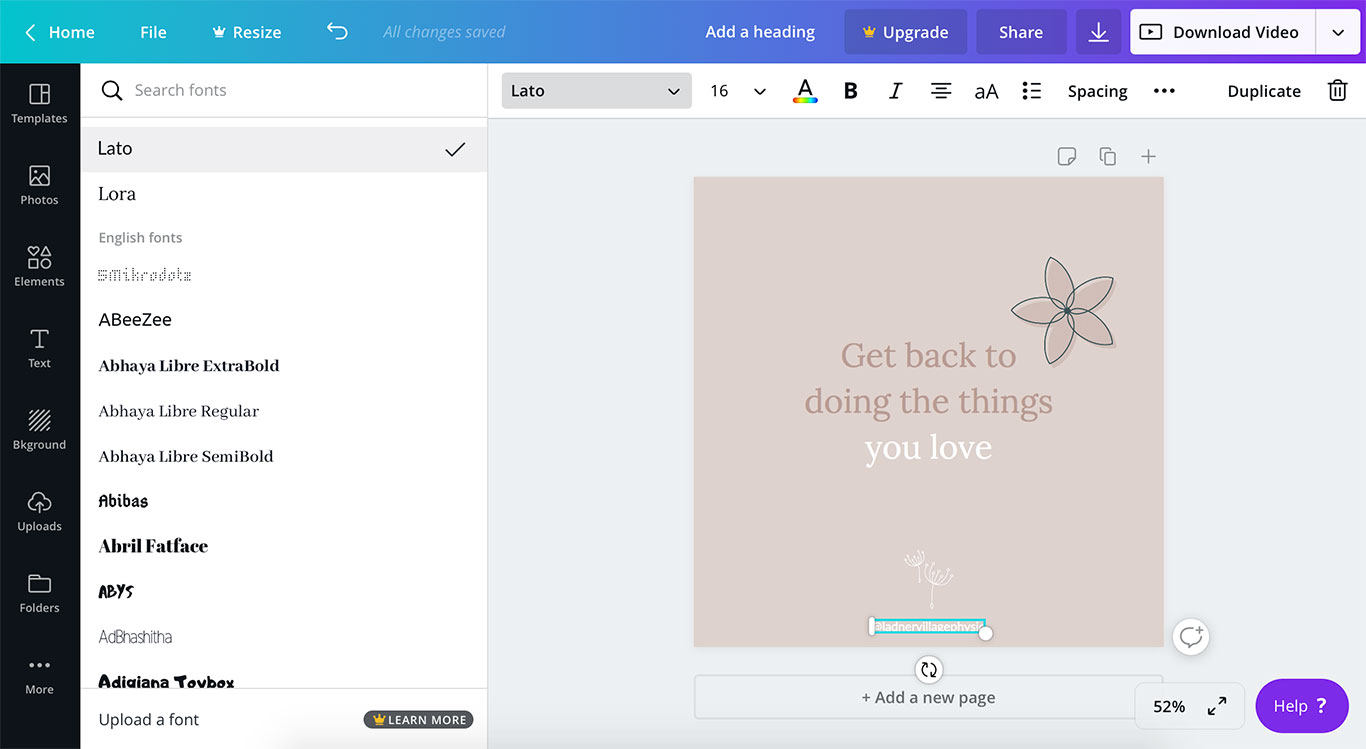
Step 4: Add text
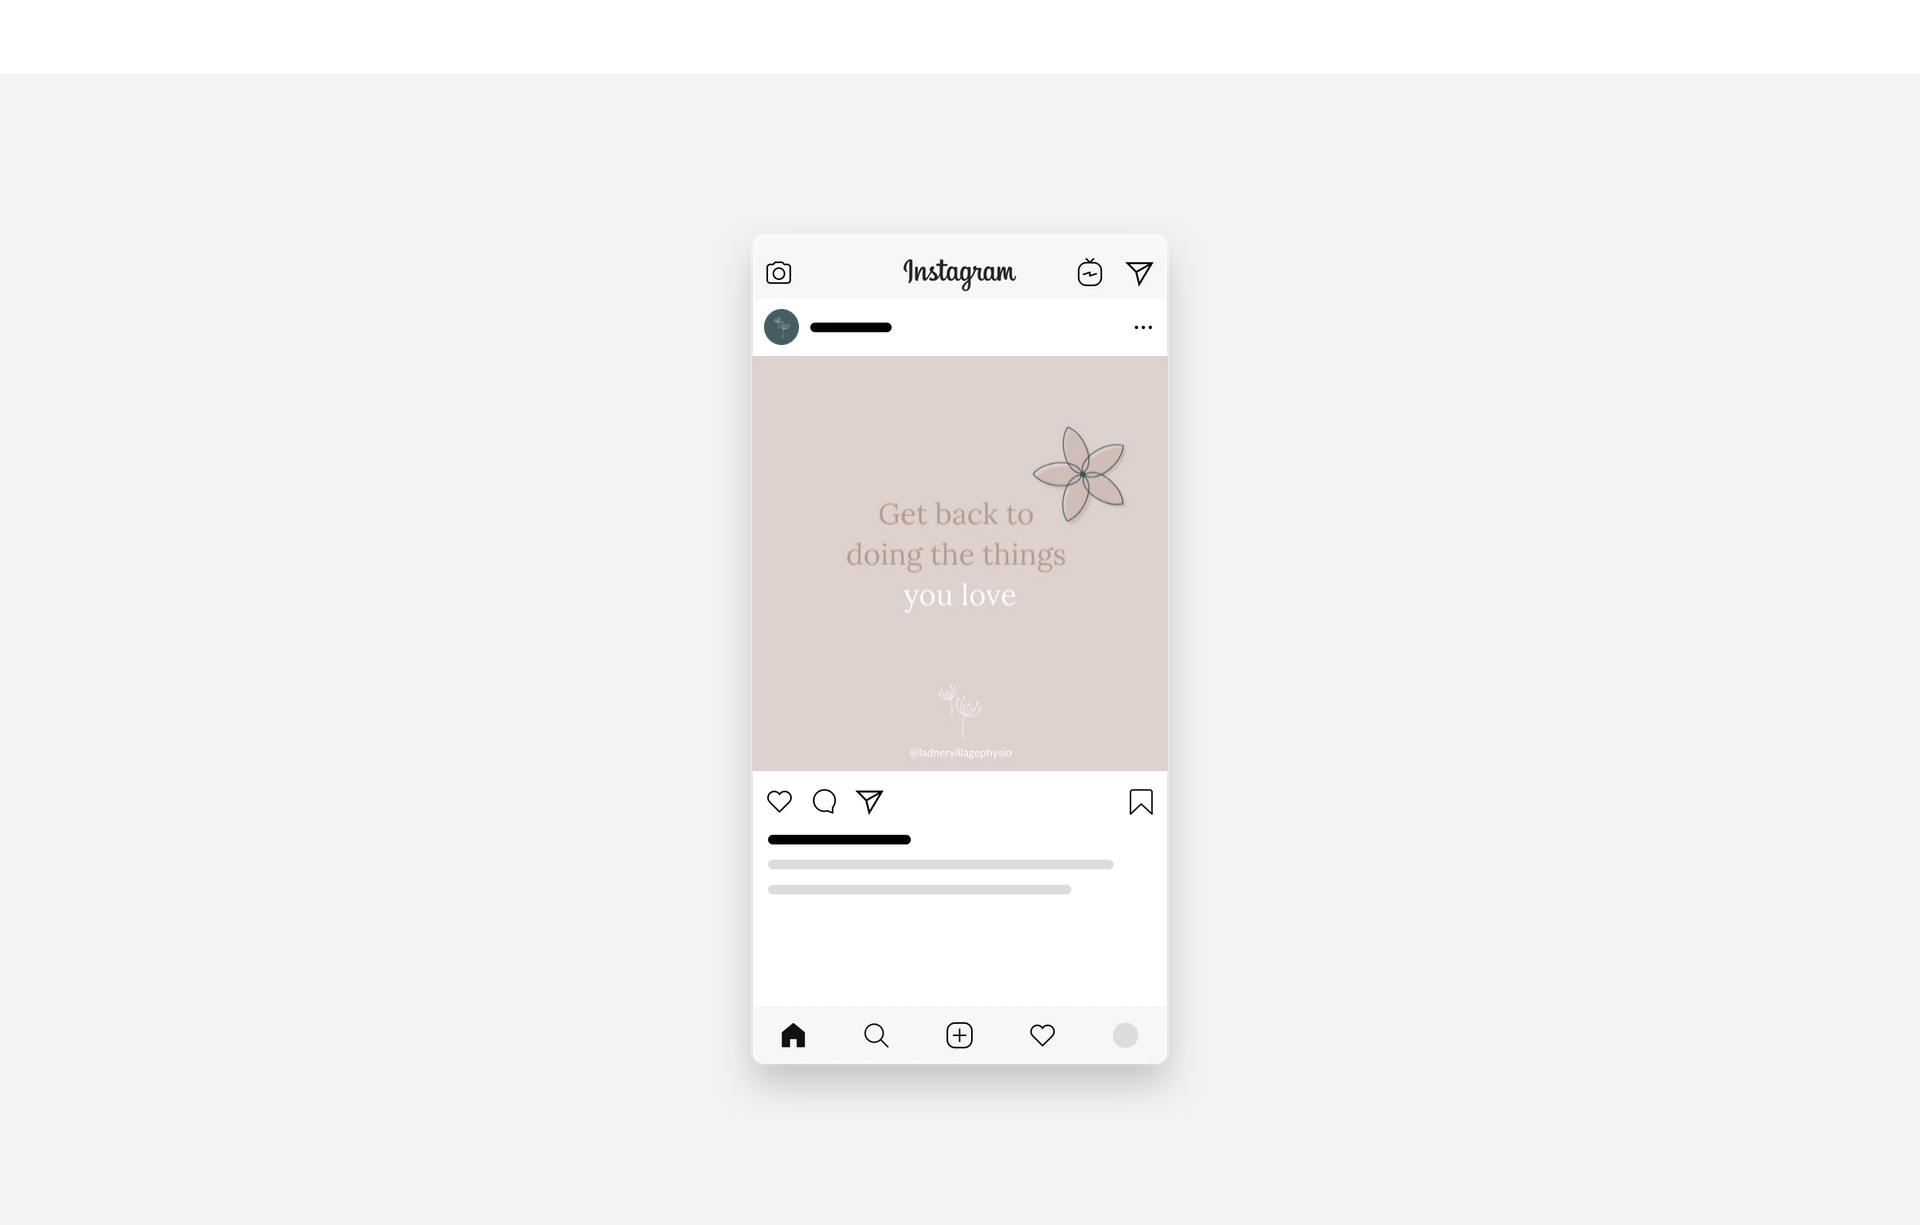
The brand stylesheet also reminded us of the font combinations to use, in this case, “Lato” and “Lora”. We clicked the text tool on the left and did a search in the top bar for Lora font that we wanted to use for the headline. We wanted part of the quote to stand out more than the other so we emphasized the last 2 words by putting them in a higher contrast white. The rest of the text we left more subtle in the darker clay colour from Ladner Village’s brand palette.
*Tip: if you can’t find your brand font in Canva’s library, consider upgrading to a pro account to upload your own fonts or look for free alternatives through a quick google search or an online tool.

Step 5: Add identity elements
Next, we wanted to include a small branding handle at the bottom of the post. The full logo here looked too busy, so we opted for the simplified dandelions instead. We also wanted these more subtle, matching the quoted text above. We added the Instagram handle in the secondary brand font “Lato” in white to tie everything in. Last, we grabbed one of the nature icon illustrations from our uploads as an accent and balanced it on the top right corner.
*Tip: remember less is more! Creating a focal point for your post is key, consider using hierarchy through element sizing, colours, transparency or contrast.
*Tip #2: when sizing your elements, drag from the corners to keep things proportionate and use Canva’s snap to grid to line everything up!
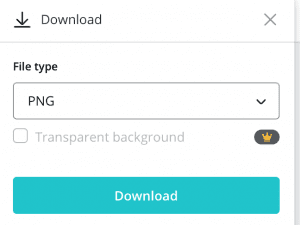
Step 6: Save image
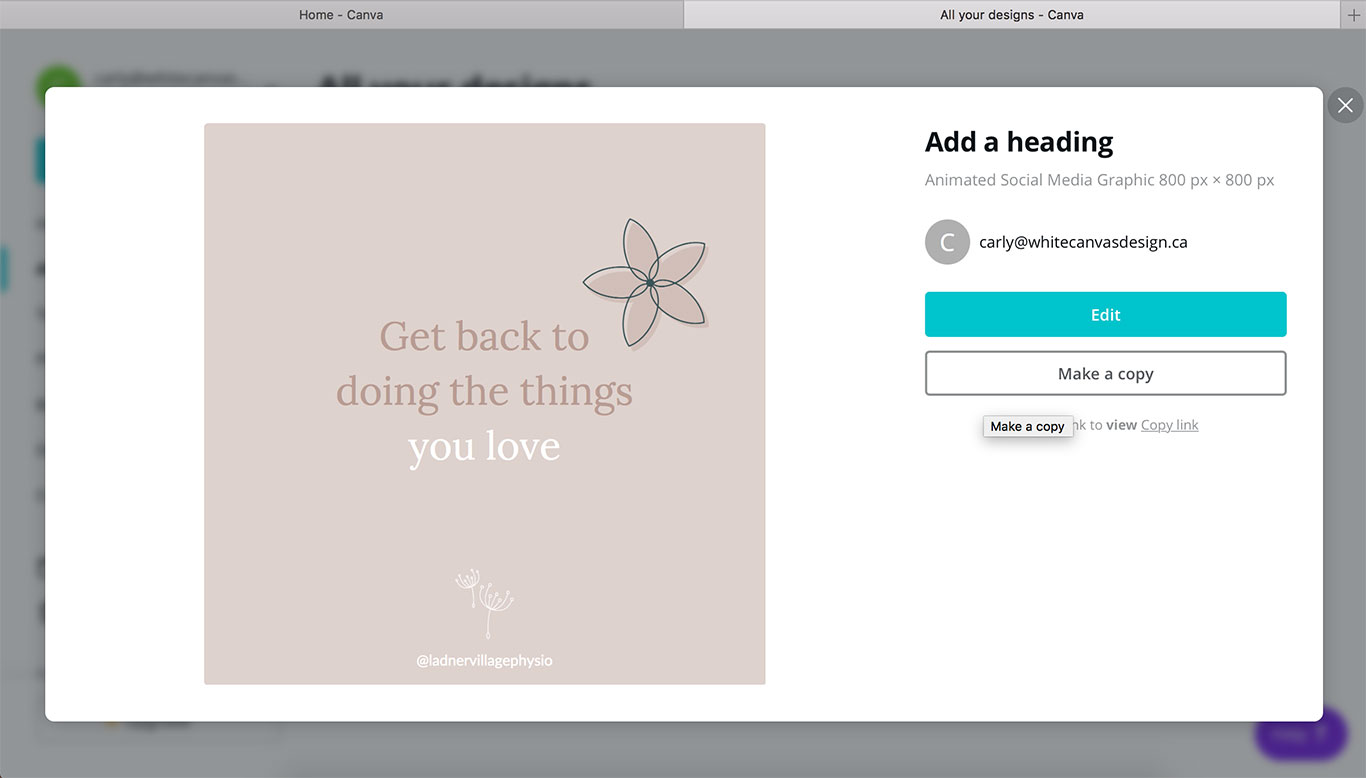
When you’re finished your design, hit the down arrow on the top right, select PNG (or JPG works too), and off you go! Next time you want to make a post using a similar layout, simply return back to your design and select make a copy. Now if only writing the captions were that easy…
*Tip: Try making 2-3 different post layouts using your full-colour palette in different combinations. Mix only 2 colours + a neutral as a general rule of thumb for keeping things coordinated. Happy posting!